
When you install WordPress on a local host, you get a safe space to build and test websites right on your computer. You don’t need a live server, which is honestly a relief if you’re just learning or want to experiment.
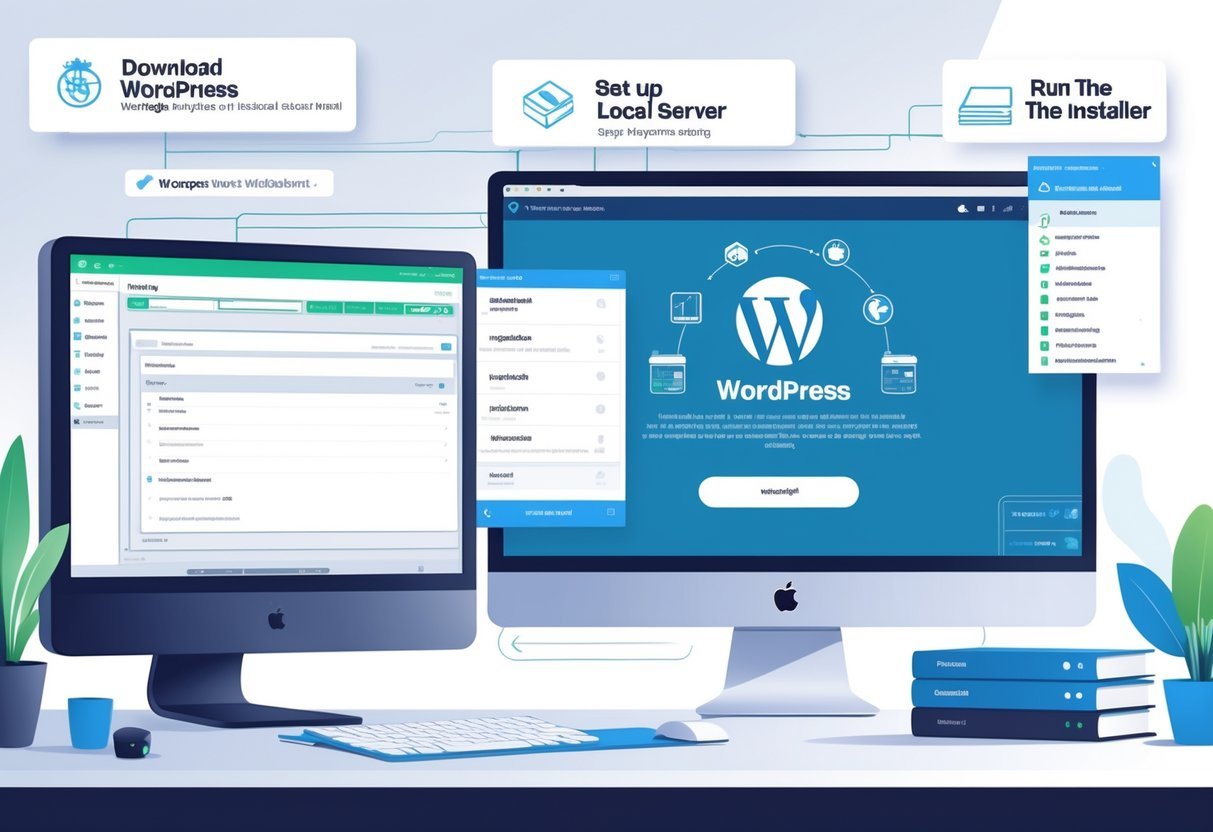
First, you’ll set up a local server environment, then download WordPress, and finally run the installation on your own machine. It’s a solid way to dig into web development or just get a feel for WordPress before you take your site public.
Working on a local host gives you total control. You won’t risk breaking a live website and you can test changes fast.
Most developers prefer this setup for trying out themes, plugins, or custom code. You get to experiment without stress.
This guide walks you through setting up a local server, installing WordPress, and getting your site running quickly. I’ll cover the basics for a smooth start with WordPress on your own machine.
Key Takeaways
- You need to set up a local server before installing WordPress offline.
- Installing WordPress on a local host lets you test and develop sites safely.
- With the right tools, accessing and managing your local WordPress site is easy.
Understanding WordPress Localhost Installations
When you install WordPress on your computer, you create a private spot for web development. You use software that mimics a server, so you can build and test sites without needing internet access.
What Is a Localhost Environment?
A localhost environment turns your computer into a mini web server. Instead of using a live server somewhere else, WordPress runs right on your machine.
You’ll use special software to create this space. It’s safe and private, perfect for building and testing.
You can work offline. Any change you make shows up instantly.
This setup is great for practicing, testing themes, or building a site before you share it with the world.
Benefits of Installing WordPress Locally
Local WordPress installs save you time and lower your risk. You can try out plugins or themes without worrying about breaking anything important.
You won’t cause downtime for a live site. That’s a big plus.
Everything runs faster because files and databases are on your own device. You don’t need to pay for hosting or domains while you’re developing.
Overview of Required Software
To get WordPress running locally, you’ll need a web server, PHP, and MySQL or MariaDB. Tools like XAMPP, WAMP, or MAMP bundle these together for you.
XAMPP is super popular. It gives you Apache for serving web pages, MySQL for the database, and PHP for WordPress code.
You’ll get a control panel to start and stop services whenever you want.
Choosing Your Local Server Solution
Your choice of a local server setup will affect how easily WordPress runs on your computer. Some tools are simple, others give you more features. It depends on your operating system and what you need.
Using XAMPP for Local WordPress
XAMPP works on Windows, macOS, and Linux. It comes with Apache, MySQL, and PHP—everything you need for WordPress.
You can grab the installer from the Apache Friends website and follow the steps. It’s pretty straightforward.
Once XAMPP is installed, you launch it from the control panel. Apache and MySQL start with a click.
You’ll put your WordPress files in the “htdocs” folder inside the XAMPP directory. XAMPP is friendly for beginners and supports multiple PHP versions.
Setting Up with MAMP for macOS or Windows
MAMP runs on both Mac and Windows. It’s designed for Mac users, but Windows folks like it too.
After installing, you just open the app and start the servers. Put your WordPress files in the “htdocs” folder in the MAMP directory.
There’s a Pro version if you want more control, but the free version works for most people.
WAMP: Localhost for Windows Users
WAMP is made for Windows users who want a local server. It bundles Apache, MySQL, and PHP together.
Install it, and WAMP will show up in your system tray. Put your WordPress files in the “www” folder in the WAMP directory.
You can manage services and databases from the WAMP interface. It doesn’t work for macOS or Linux, so it’s really just for Windows.
Alternatives: Docker and Local by Flywheel
Docker uses containers to run WordPress in neat little packages. It’s perfect if you’re comfortable with command-line tools and want the same setup on any system.
Local by Flywheel is an app made just for local WordPress development. It gives you one-click installs and supports Mac and Windows.
You also get SSL support and site blueprints. It’s for people who want speed and don’t want to mess with manual setup.
Step-by-Step Installation Process
To install WordPress locally, you’ll set up your server software, put WordPress files in the right place, create a database, and finish the setup in your browser. Take your time with each step to avoid headaches later.
Downloading and Setting Up Local Server Software
Start by downloading a local server environment that supports PHP and MySQL or MariaDB. XAMPP, WAMP, or MAMP are all good choices.
Install the software and start it up. You’ll want Apache, MySQL, and phpMyAdmin running from the control panel.
Check that it’s working by going to http://localhost/ in your browser. You should see the server’s default page.
Installing and Configuring WordPress Files
Next, download WordPress from the official site. Unzip it and copy the contents into your server’s web root folder.
For XAMPP and WAMP, that’s usually htdocs. You can rename the WordPress folder if you want a custom URL, like http://localhost/mysite.
Open that URL in your browser to start the installation. Usually, WordPress will create the wp-config.php file during setup if your database and permissions are set up right.
Creating a Database via phpMyAdmin
WordPress needs a database to run. Head to http://localhost/phpmyadmin to create one.
Click “New,” pick a name (like wordpress_db), and set the collation to utf8_general_ci for best compatibility.
You don’t need to make tables yourself—WordPress will do that. Remember the database name; you’ll need it during setup.
The username is usually root and the password is blank, unless you set something different.
Finalizing WordPress Setup on Localhost
With your files and database ready, go to your site URL. The WordPress installer will pop up.
Enter your database name, username, password, and host (it’s usually localhost). Then fill in your site title, admin username, password, and email.
You can change these later if you want. After you finish the form, the installer creates the database tables.
Once it’s done, log in to the dashboard and start building your site.
Configuring and Accessing Your Local WordPress Site
You’ll need to tweak a few configuration files and connect to your MySQL database. Once that’s set, you can access the WordPress dashboard and manage your site.
It’s all pretty manageable once you get the hang of the tools.
Editing wp-config.php for Database Connection
The wp-config.php file handles the database connection. You’ll find it in the root folder of your WordPress install.
Open it in a text editor. Look for these lines:
define('DB_NAME', 'database_name_here');
define('DB_USER', 'username_here');
define('DB_PASSWORD', 'password_here');
define('DB_HOST', 'localhost');
Swap out:
- database_name_here for your local MySQL database name
- username_here for your MySQL username (usually “root”)
- password_here for your MySQL password (sometimes blank)
- Keep localhost as it is
Save the file. Now WordPress knows how to talk to your database.
Setting Up the WordPress Dashboard
Once you’ve got wp-config.php set, finish the installation wizard.
Open your browser and go to:
http://localhost/your-wordpress-folder
Fill in your site title, admin username, password, and email. The dashboard is where you’ll create pages, posts, and tweak your site’s settings.
You get menus for themes, plugins, and user accounts. It’s all pretty intuitive once you poke around.
Accessing and Managing Local WordPress Sites
To visit your local WordPress site, use the local URL like http://localhost/your-wordpress-folder.
If you want more than one site, just change folder names or set up virtual hosts.
Managing your local site means checking your database, updating files, and backing up your site folder now and then.
phpMyAdmin or MySQL Workbench are handy for database stuff. Regular backups of your files and database will save you from headaches if something goes wrong.
Managing and Troubleshooting Your Local Environment
Keeping WordPress running smoothly on localhost takes a bit of care. Sometimes Apache, PHP, or MySQL throw errors. Moving sites between local and live servers can be tricky.
A few best practices go a long way for a stable development setup on Windows, macOS, or Linux.
Common Installation Issues and Solutions
Apache sometimes won’t start if another app (like Skype) uses port 80. If that happens, change Apache’s port to 8080 in the config file.
PHP errors usually mean you have the wrong version. Make sure PHP matches what WordPress needs. Check php.ini for missing extensions like mysqli or gd.
If you see MySQL connection errors, double-check your wp-config.php credentials. Make sure username and password match MySQL.
If you forget the root password, reset it or make a new user. For file permissions, use 755 for folders and 644 for files on Linux or Mac. That should keep things accessible.
Migrating Sites Between Local and Live Servers
To move a WordPress site from localhost to a live server, export the database using phpMyAdmin.
Update all URLs in the database to match your new domain with a search-and-replace plugin or script. Copy all your WordPress files—themes, plugins, uploads—to the live server via FTP or your host’s file manager.
Edit wp-config.php for the new database settings. Check the PHP version and extensions on the live server; mismatches can cause issues.
Test the live site right after migration. Always back up your database and files before you start, so you can recover if something goes sideways.
Best Practices for Local WordPress Development
When you use separate environments for development and testing, you sidestep a lot of headaches. Localhost works great for building stuff and trying out new plugins, themes, or edits—no risk to your live site.
Make sure to keep Apache, PHP, and MySQL updated to versions WordPress actually supports. If you let them get outdated, you might run into security issues or weird compatibility problems.
Try using version control tools like Git to track your code changes. It makes working with others easier, and you can roll back mistakes if things go sideways.
Turn on WP_DEBUG mode in your wp-config.php file. You’ll see errors and warnings pop up during development, which really helps you catch issues before they become a big deal.
And hey, don’t use live data on localhost unless you’ve anonymized it. That way, you keep user info safe while you’re testing.