

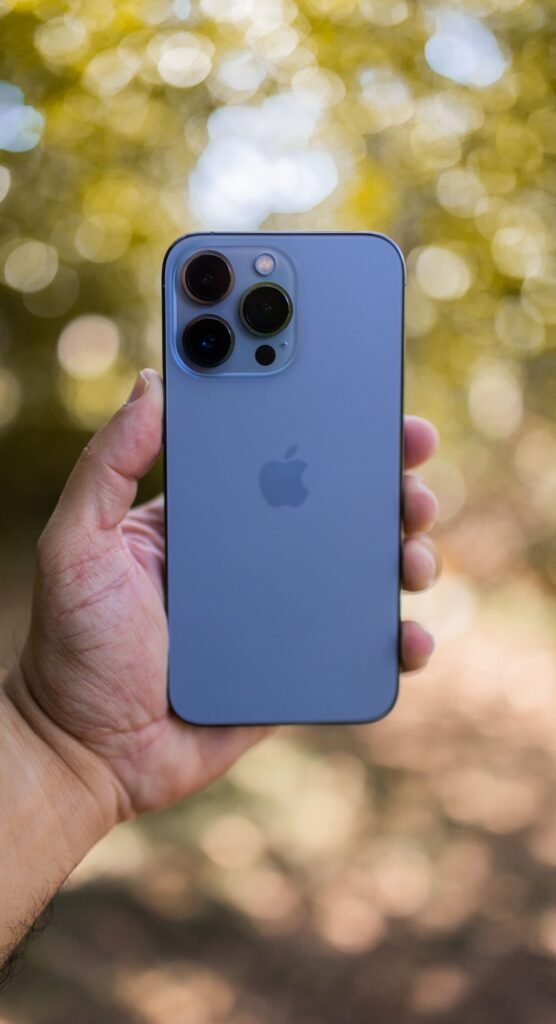
How to Transfer Data to a New iPhone: Full Guide
- Quick Start is the fastest all-in-one option: it moves apps, settings, and data straight from your old iPhone.
- Update both phones to the latest iOS and confirm you have a fresh backup before you start.
- An iCloud backup restore is ideal when your old phone is broken, sold, or far away.
- A Mac (Finder) or PC gives you a fast, local, encrypted copy with no iCloud storage limits.
- Move to iOS handles Android-to-iPhone switches, but it must run during initial setup.
A new iPhone is only exciting once your photos, messages, and apps land safely on it. The good news: Apple has made the process nearly hands-off in 2026. Whether you are upgrading from an older iPhone, rescuing data from a cracked screen, or leaving Android behind, there is a method built for your situation. This guide walks through all four, compares them at a glance, and covers the small steps that prevent big headaches.
Before you start: a 3-minute checklist
A few minutes of prep prevents a stalled transfer later:
- Charge both phones or keep them plugged in. Large transfers can run 30 minutes or more.
- Connect to a stable Wi-Fi network and turn on Bluetooth on the old device.
- Update iOS on the current iPhone (Settings → General → Software Update) so both phones speak the same language.
- Make a fresh backup as a safety net (Settings → your name → iCloud → iCloud Backup → Back Up Now).
- Know your Apple Account password and your old device passcode. You will need both.
- Note your eSIM. During setup the new iPhone can pull your number over from the old phone in a few taps.
Transfer methods compared
Not sure which route to take? This table lines up the four official methods so you can match one to your situation before diving into steps.
| Method | Best for | What it moves | Old phone needed? | Speed |
|---|---|---|---|---|
| Quick Start (device-to-device) | Most iPhone-to-iPhone upgrades | Apps, data, settings, layout — almost everything | Yes, nearby | Fast (faster over USB-C cable) |
| iCloud backup restore | Lost, broken, or already-sold old phone | Everything in your last iCloud backup | No | Depends on Wi-Fi and backup size |
| Mac (Finder) or PC | Large libraries, limited iCloud storage | Full local backup, incl. some health/keychain if encrypted | Yes, to make the backup | Fast, wired |
| Move to iOS | Switching from Android | Contacts, messages, photos/videos, mail, calendars, some apps | Yes (the Android phone) | Moderate; must run during setup |
Method 1: Quick Start (the easy default)
Quick Start is Apple’s recommended path for iPhone-to-iPhone upgrades. It copies your data directly between the two phones, so nothing has to route through the cloud. Both devices need iOS 11 or later; anything from the last several years qualifies.
- Turn on your new iPhone and place it a few inches from your current one.
- A Quick Start card appears on the old phone asking if you want to use your Apple Account to set up the new device. Tap Continue.
- A swirling animation shows on the new iPhone. Hold the old phone over it so the animation sits inside the viewfinder, then wait for “Finish on New iPhone.”
- Enter your old iPhone’s passcode on the new device when prompted.
- Follow the prompts to set up Face ID or Touch ID.
- On the Transfer Your Data screen, choose Transfer from iPhone to move everything directly from the old device (rather than downloading from iCloud).
- Accept the terms, then keep both phones near each other and plugged in until the progress bar completes.
Tip: For the fastest and most reliable transfer, connect the two phones with a USB-C cable and pick the wired option when it appears. Because the new iPhone charges while it works, remember that charging speed varies by adapter — our guide to iPhone 17 Pro charging and charger types explains what wattage to use.
Method 2: Restore from an iCloud backup
If your old iPhone is broken, already traded in, or simply not with you, an iCloud restore rebuilds the new phone from your most recent backup. You will need Wi-Fi and your Apple Account credentials.
- If possible, make one last backup of the old phone first (Settings → your name → iCloud → iCloud Backup → Back Up Now).
- Turn on the new iPhone and follow the prompts to the Transfer Your Apps & Data screen.
- Tap From iCloud Backup.
- Sign in with your Apple Account.
- Choose the right backup by checking its date and size.
- Sign in to any additional Apple Accounts tied to purchases if asked, or skip.
- Stay on Wi-Fi and plugged in. Apps, photos, and music continue downloading in the background after setup finishes.
Your home screen may show placeholder app icons for a while — that is normal, and they fill in as the download completes.
Method 3: Use a Mac (Finder) or a Windows PC
A computer backup is the power-user choice. It is fast, local, and skips iCloud storage limits entirely. If you check the Encrypt local backup box, the backup also preserves saved passwords, Wi-Fi settings, and Health data.
- Connect your old iPhone to the computer with a cable.
- On a Mac, open a Finder window and select the iPhone in the sidebar. On Windows, use the Apple Devices app.
- Choose Back up all of the data on your iPhone to this computer, tick Encrypt local backup, set a password, and click Back Up Now.
- When it finishes, disconnect the old phone and start setting up the new one.
- On the Transfer Your Apps & Data screen, choose From Mac or PC and connect the new iPhone.
- Select the backup you just made, enter your encryption password, and let the restore run.
Method 4: Switching from Android with Move to iOS
Leaving Android? Apple’s free Move to iOS app (on the Google Play Store) copies your key content over Wi-Fi. The catch: it only works during the new iPhone’s initial setup. If you already finished setup, you will need to erase the iPhone and start again.
- Install Move to iOS on the Android phone and make sure both devices are charged and on Wi-Fi.
- On the new iPhone, reach the Transfer Your Apps & Data screen and tap From Android.
- Open Move to iOS on Android, agree to the terms, and tap Continue.
- A code appears on the iPhone. Enter it on the Android phone.
- Join the temporary Wi-Fi network the iPhone creates when prompted.
- Choose what to transfer — contacts, message history, camera photos and videos, mail accounts, and calendars.
- Leave both phones alone until the iPhone’s progress bar finishes, then complete setup.
Free apps with an App Store equivalent are re-downloaded automatically; paid apps and DRM-protected media do not carry over and must be repurchased.
After the transfer: finish the job
Once your data lands, a few quick tasks lock everything in:
- Sign in to apps that need it — banking, authenticators, and streaming services often ask you to log in again.
- Re-pair your Apple Watch, AirPods, and car if you use them.
- Confirm your number moved. Send a test text and make a call.
- Check two-factor apps. Move authenticator codes before wiping the old phone.
- Erase the old iPhone last (Settings → General → Transfer or Reset iPhone → Erase All Content and Settings) only after you have confirmed everything works.
FAQ
How long does it take to transfer data to a new iPhone?
A typical Quick Start transfer takes 15 to 45 minutes. Small setups finish in minutes, while phones with large photo libraries or many apps take longer. A USB-C cable and a strong Wi-Fi network both speed things up considerably.
Can I transfer to a new iPhone without Wi-Fi?
Yes. Quick Start can move data directly over a wired USB-C connection between the two phones, and a Mac or PC restore is entirely local. iCloud restore and Move to iOS, however, both require Wi-Fi.
Do my photos and messages transfer automatically?
With Quick Start, an iCloud restore, or a computer backup, yes — photos, iMessages, and SMS come across. From Android, Move to iOS copies camera photos, videos, and message history, though some third-party chat apps need separate migration tools.
What if I already set up my new iPhone?
You can still restore from an iCloud or computer backup, but you must first erase the phone (Settings → General → Transfer or Reset iPhone → Erase All Content and Settings) and run setup again. Move to iOS also requires this reset.
Will my eSIM and phone number move over?
During setup the new iPhone offers to transfer your eSIM and number from the old device in a couple of taps. If it does not appear, your carrier can activate the eSIM through Settings → Cellular → Add eSIM.
