

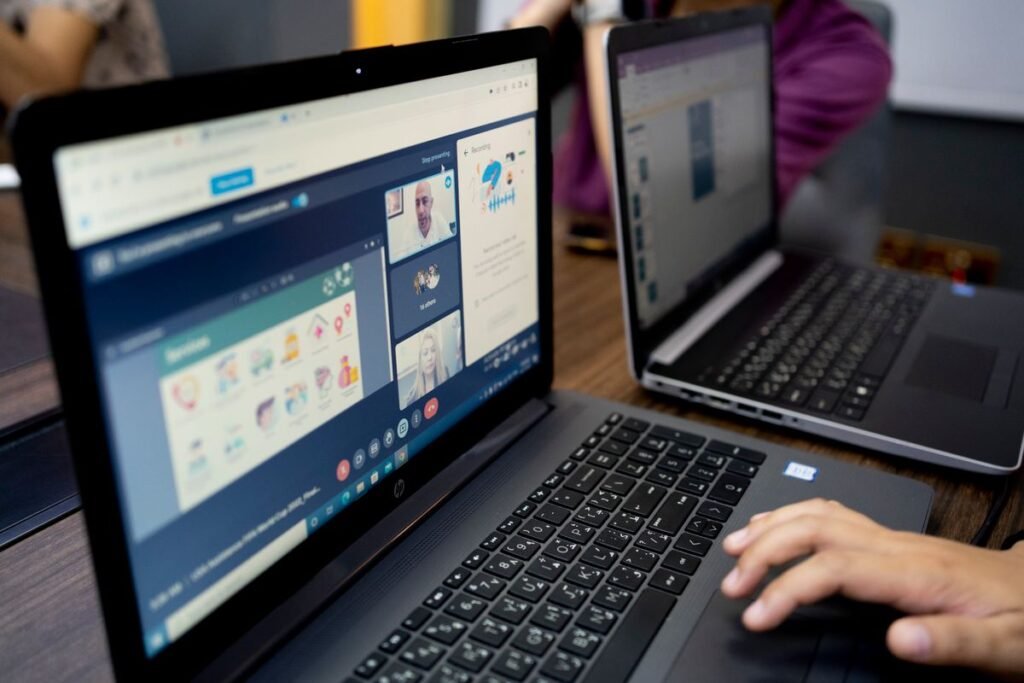
How to Use Zoom: Complete Beginner’s Guide
Key takeaways
- The fastest way to join a meeting is simply clicking the invite link you were sent.
- Everything you need lives in the toolbar at the bottom of the meeting window.
- Screen sharing, virtual backgrounds, and reactions all take one or two clicks.
- Zoom’s free plan caps group meetings at 40 minutes and 100 participants.
- Always use the Waiting Room and a passcode to keep uninvited guests out.
Zoom became the world’s go-to app for video calls, and in 2026 it’s used for work meetings, online classes, doctor visits, and catching up with family. The good news for beginners: joining a call takes a single click, and the handful of buttons you actually need are all in one place. This guide walks you through installing Zoom, joining and hosting meetings, sharing your screen, using breakout rooms and virtual backgrounds, recording, and understanding what the free plan does and doesn’t include.
What Is Zoom?
Zoom is a video conferencing app that lets people see and hear each other over the internet. You can host a meeting from a laptop, desktop, tablet, or phone, and invite others with a link. Beyond video, Zoom includes screen sharing, text chat, recording, virtual backgrounds, and breakout rooms for splitting a big group into smaller discussions. You can use it in a web browser without installing anything, but the desktop and mobile apps unlock every feature.
Step 1: Download Zoom and Create an Account
- Go to zoom.us and click Sign Up, It’s Free, or download the Zoom Workplace app from the App Store or Google Play.
- Sign up with your email, or use the Sign in with Google or Apple shortcut for a faster setup.
- Verify your email if asked, then sign in to the app.
You don’t strictly need an account to join a meeting someone else hosts — but you do need one to host your own.
Step 2: Join a Meeting
This is what most beginners do first, and it’s genuinely easy.
- From a link: Click the meeting link in your email, calendar, or text. Zoom opens and connects you automatically. This is the simplest method.
- From a Meeting ID: Open Zoom, click Join, type the 10 or 11-digit Meeting ID and your name, then enter the passcode if prompted.
- Choose Join with Video or without, and click Join with Computer Audio so you can be heard.
If the host has a Waiting Room turned on, you’ll see a “please wait” message until they let you in. That’s normal.
Step 3: Host or Schedule a Meeting
Ready to run your own call? You have two options.
Start an instant meeting
- Open the Zoom app and click the orange New Meeting button.
- Click Participants → Invite to copy the invite link or email it to people.
Schedule for later
- Click Schedule (the calendar icon).
- Set the date, time, and options like requiring a passcode or a Waiting Room.
- Click Save. Zoom creates a link you can add to Google Calendar or Outlook and share with guests.
Step 4: Learn the Meeting Toolbar
Once you’re in a meeting, move your mouse and a toolbar appears along the bottom (on phones the icons are along the bottom or top). These are the controls you’ll use most:
| Button | What it does | How to use it |
|---|---|---|
| 🎤 Mute / Unmute | Turns your microphone on or off. | Click to toggle. Tip: hold the spacebar to talk while muted. |
| 📷 Start / Stop Video | Turns your camera on or off. | Click to toggle your webcam. |
| 👤 Participants | Shows who’s in the meeting. | Click to view the list, invite people, or raise your hand. |
| 💬 Chat | Send text messages to everyone or one person. | Click, type, and choose the recipient before sending. |
| 🖥 Share Screen | Shows your screen, a window, or a whiteboard. | Click, pick what to share, then Share. |
| ⏺ Record | Saves the meeting as a video. | Hosts click to record locally or to the cloud (paid). |
| 👋 Reactions | Send a thumbs-up, clap, or emoji. | Click Reactions and pick an emoji; it pops up briefly. |
| 🛠 More | Extra tools and settings. | Click the three dots for backgrounds, breakout rooms, and more. |
Step 5: Share Your Screen
Screen sharing lets everyone see a slideshow, document, or website on your computer.
- Click the green Share Screen button in the toolbar.
- Choose what to share: your whole screen, a single window (like just your slides), or a Whiteboard.
- Check Share sound if you’re playing a video with audio, then click Share.
- When you’re done, click the red Stop Share bar at the top of the screen.
Step 6: Try Virtual Backgrounds and Breakout Rooms
Virtual background
A virtual background hides your room behind an image or blur. Click the up arrow (^) next to Stop Video, choose Choose Virtual Background, and pick a preset, blur, or your own photo. It’s a quick way to look tidy when your space isn’t.
Breakout rooms
Breakout rooms let a host split everyone into smaller groups — ideal for classrooms and workshops. As the host, click More (three dots) → Breakout Rooms, choose how many rooms and whether to assign people automatically or manually, then click Open All Rooms. Participants get an invite to join their room and can return to the main meeting when you close the rooms.
Step 7: Record a Meeting
Hosts (and anyone the host allows) can record a call to rewatch or share later.
- Click Record in the toolbar.
- On the free plan, choose Record on this Computer to save the video locally; cloud recording is a paid feature.
- A red “Recording” indicator shows so everyone knows they’re being recorded.
- Click Stop when finished. Zoom saves the file to your computer after the meeting ends.
Always tell participants before you record — it’s polite and, in many places, legally required.
Zoom Free vs. Paid: What Are the Limits?
Zoom’s free “Basic” plan is generous but has one big catch: the 40-minute cap. Here’s how the free plan compares with the paid Pro plan in 2026.
| Feature | Free (Basic) | Paid (Pro) |
|---|---|---|
| Price | $0 | Monthly subscription per host |
| Group meeting length | 40 minutes, then it ends | Up to 30 hours |
| Participants | Up to 100 | Up to 100 (more with add-ons) |
| Screen sharing | Yes | Yes |
| Breakout rooms | Yes | Yes |
| Virtual backgrounds | Yes | Yes |
| Cloud recording | No (local only) | Yes, cloud storage included |
The 40-minute workaround: when a free meeting hits 40 minutes it ends for everyone, but you can simply restart it with the same link and continue — participants just rejoin. If you host long calls often, the paid plan is usually worth it.
Beginner Tips for Better Zoom Calls
- Test first. Go to zoom.us/test to check your camera and mic before an important call.
- Mute when not talking. It cuts background noise for everyone.
- Use a wired or strong Wi-Fi connection for smoother video.
- Turn on the Waiting Room and a passcode when hosting to keep strangers out.
- Good light helps. Face a window or lamp so people can see you clearly.
Zoom works great on tablets and phones too, which is handy for joining on the move — you’ll find more mobile picks in our guide to the best travel apps for 2026. And if you’re helping an older relative get comfortable with video calls, pair Zoom with one of the best smartwatches for seniors in 2026 for easy reminders and health tracking.
FAQ
Is Zoom free to use?
Yes. Zoom’s Basic plan is free and lets you host meetings with up to 100 participants. The main limit is that group meetings end after 40 minutes. Joining a meeting someone else hosts is always free and unlimited in length.
Do I need an account to join a Zoom meeting?
No. To join a meeting, you only need the invite link or the Meeting ID and passcode. You just type your name and connect. You only need an account if you want to host or schedule your own meetings.
Why does my Zoom meeting end after 40 minutes?
That’s the free plan’s time limit for group meetings. When it ends, you can restart the meeting with the same link and everyone rejoins, or upgrade to a paid plan for meetings up to 30 hours long.
How do I share my screen on Zoom?
Click the green Share Screen button in the toolbar, choose your whole screen, a single window, or a whiteboard, tick Share sound if playing a video, and click Share. Click Stop Share at the top when you’re finished.
How do I look better on camera?
Face a window or lamp so your face is well lit, raise your camera to eye level, and use a plain background or Zoom’s virtual background and blur options found under the arrow next to Stop Video.
That’s everything a beginner needs. Start by joining a call from a link, get comfortable with the mute and video buttons, then try hosting your own meeting and sharing your screen. Within a couple of calls, Zoom will feel completely natural.
