

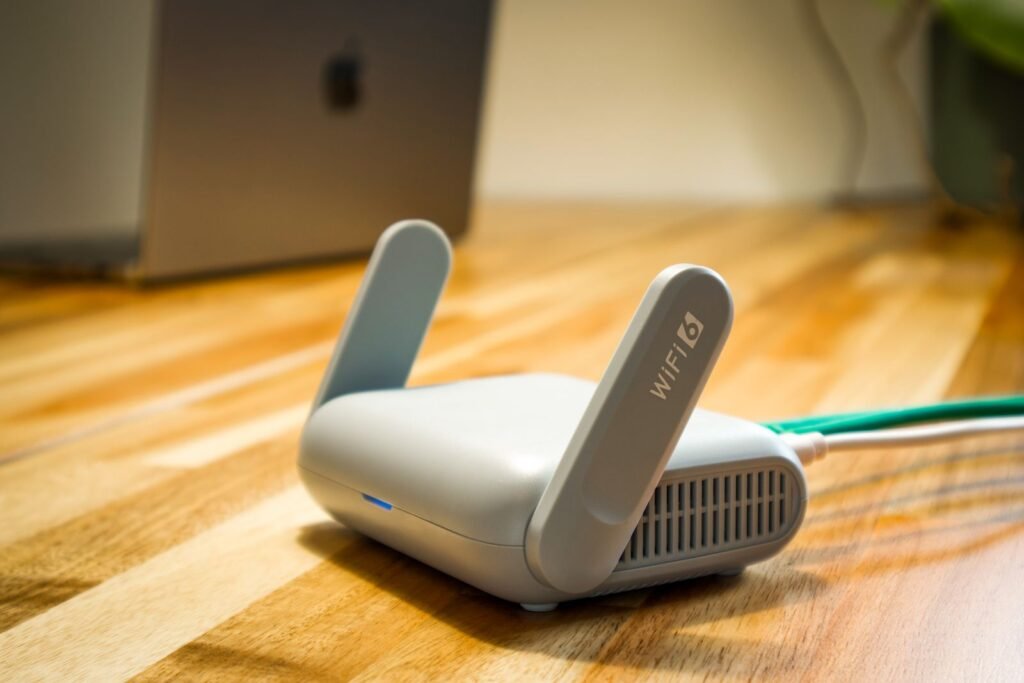
A mesh system does not fail because you bought the wrong brand. It fails because the second node is sitting exactly where the Wi-Fi was already bad. Move that node to the halfway point instead, keep it off the floor and out of a cabinet, and the same hardware that gave you three bars in the back bedroom will give you full speed there.
Quick answer: Place each mesh node roughly halfway between the router and the dead zone, 20 to 30 feet from the node it talks to, at waist or chest height, on an open surface with no more than one or two interior walls in the path. Never put a node in the dead zone itself, and never inside a media cabinet.
I spent two weekends moving three nodes around a 2,100 square foot house before the pattern became obvious. Every placement that failed had the same cause: I was treating the node like a repeater for the room I wanted to fix, when it is really a relay that has to hear the router clearly first. Below is the strategy that finally worked, the distances the vendors actually publish, and a ten minute test you can run to prove a spot is good before you commit to it.
The mistake almost everyone makes
The instinct is simple and wrong. You have no signal in the back bedroom, so you put the extra node in the back bedroom. The node lights up, connects, and delivers a weak, unstable link, because whatever it receives from the router is what it rebroadcasts. A relay cannot invent bandwidth it never got. If you are still at the diagnosis stage, our guide to fixing Wi-Fi dead spots covers the mapping step first.
Mesh nodes on a wireless backhaul lose throughput at every hop. If a node hears the router at half strength, everything downstream of it runs at roughly half strength or worse. Put the node halfway instead and it hears the router clearly, then covers the far room from much closer range.
Mesh placement at a glance
Sources: eero placement guidance, TP-Link Deco placement FAQ.
What the vendors actually publish
Support pages are vague on purpose, but there are real numbers in them if you read closely. These are the ones worth acting on, taken from eero’s placement article and the Deco placement FAQ.
| Guidance | eero | TP-Link Deco |
|---|---|---|
| Spacing between units | 20 to 30 feet, never past 50 | Use the app layout tool, confirm 2 bars |
| Height | Halfway between floor and ceiling, never on the floor | Same height as the main unit, 1 to 1.5 ft minimum |
| Surface | Hard, flat, open | Open area, away from walls and metal |
| Avoid | Appliances, aquariums, mirrors, cordless phones, cabinets | Microwaves, Bluetooth gear, USB 3.0 devices, filing cabinets |
| Best case | Line of sight, fewest walls possible | Ethernet backhaul, described as faster and more stable |
Two things stand out. Both vendors care more about what is between the nodes than about raw distance, and both quietly admit that a cable beats any placement you can achieve wirelessly.
Not all walls cost the same
A node three rooms away through open doorways can outperform a node one room away through a tiled bathroom. The material in the path, not the room count, decides how much signal survives.
Roughly how much signal survives each obstacle
Indicative only. Attenuation varies with frequency band and construction, and 6 GHz suffers far more than 2.4 GHz through the same wall.
This is why the 6 GHz band on a Wi-Fi 6E or Wi-Fi 7 system is fast in the same room and disappointing two rooms away. If your nodes keep dropping to a slow backhaul, the path is the problem, not the hardware. Newer hardware helps at the margins, as our Wi-Fi 7 router review shows, but it will not rescue a bad path.
The ten minute test that settles it
Do not trust the app’s coloured dot. Put the node in a candidate spot, give it two minutes to settle, then measure from the far room. Every operating system ships with enough tooling to do this, and the basics are covered in our walkthrough on connecting to Wi-Fi.
# Windows: 100 pings to the gateway, watch for loss and jitter
ping 192.168.1.1 -n 100

# macOS or Linux: same idea
ping -c 100 192.168.1.1

# macOS: live signal quality from the far room
sudo wdutil info | grep -E "RSSI|Noise|Tx Rate"

# Linux: signal and bitrate
iw dev wlan0 link
Read three numbers. Packet loss should be zero. Average round trip time to the gateway should sit under 10 ms with no spikes past 100 ms. RSSI at the client should be better than minus 67 dBm for reliable streaming and video calls. If ping times swing wildly while the signal bar looks full, the node is hearing the router badly and retransmitting.
Tip: Run the same test twice, once with the microwave off and once with it running for a minute. If the numbers collapse, your node is too close to the kitchen and the 2.4 GHz band is being drowned out.
Placement plans for common layouts
Start from the router, not from the problem room. These layouts cover most homes.
| Layout | Where the nodes go |
|---|---|
| Long single storey | Router at one end, node in the middle hallway, third node two thirds of the way down. A line, not a cluster. |
| Two storeys | Router on the ground floor near the stairs, node upstairs on the landing directly above it. Signal travels well through a stairwell. |
| Three storeys | Put the router on the middle floor if the cable entry allows it, then one node above and one below. |
| Detached office or garage | Node in the room of the house nearest the outbuilding, facing a window. Do not try to serve it from the far side of the house. |
| Apartment with a concrete core | Route around the core through open space rather than trying to punch through it, or run a cable. |
Wired backhaul beats every placement trick
If any candidate spot has an Ethernet port, or you can run a flat cable along a skirting board, use it. A wired node keeps the full radio budget for client devices instead of spending half of it talking to the router, and the placement rules stop mattering. Powerline and MoCA adapters over existing coaxial cable are the fallback when drilling is not an option, and both usually beat a marginal wireless hop. If you are replacing the router entirely, start with our roundup of the best Wi-Fi 6 routers.
Warning: Do not mix a mesh kit with your old router still broadcasting its own network. Two overlapping networks on the same channels will fight each other and your devices will cling to the weaker one. Put the old router in bridge or access point mode, or retire it.
Troubleshooting a node that will not behave
Four failures account for almost everything.
The node connects but speeds are halved. It is on a weak backhaul. Move it closer to the router, not closer to the dead zone, and retest.
Devices stay stuck on the far node. Client devices hold on to a connection long after a better one appears. Toggle Wi-Fi on the device, and if your system offers band steering or client steering, leave it on.
Speeds drop every evening. That is neighbour congestion on 2.4 GHz, not placement. Move what you can to 5 GHz or 6 GHz and set a fixed, uncrowded channel.
The node drops out once a day. Check what shares its power strip. Cheap LED drivers and unshielded USB 3.0 enclosures are notorious sources of interference, and TP-Link names USB 3.0 devices explicitly.
Note: Adding a fourth or fifth node rarely helps. Every extra wireless hop costs throughput, and a crowded mesh creates more roaming decisions for your devices to get wrong. Three well placed nodes beat five badly placed ones in almost every home.
Frequently asked questions
How far apart should mesh nodes be?
Twenty to thirty feet is the sweet spot eero publishes, with fifty feet as the absolute ceiling. Distance matters less than what sits between them, so measure in walls and materials as well as feet, and always confirm with a real test from the far room.
Where should a mesh router be located in the house?
As central as your incoming cable allows, at waist or chest height, on an open shelf. Corners and cupboards waste half the coverage pattern by pushing it into a wall or outside the building.
Should I put a mesh node in the room with no signal?
No. That is the single most common mistake. A node rebroadcasts whatever it receives, so a node in a weak spot produces a weak network. Place it between the router and the problem area instead.
How close should my mesh node be to my main router?
Close enough for a strong, stable link and far enough that it is actually extending coverage. If the two units sit in the same room you are wasting a node, and if the satellite shows fewer than two bars in the app it is too far.
Does a wired mesh node really make that much difference?
Yes. Ethernet removes the wireless backhaul entirely, so the node’s radios serve only your devices. TP-Link states plainly that a wired connection is more stable and faster, and it also frees you from most placement constraints.
The bottom line
Mesh hardware has improved far faster than the advice that ships with it. The strategy that works is unglamorous: put every node where it can hear the previous one clearly, keep it high and in the open, count the walls rather than the rooms, and run a cable whenever the building lets you. Do that with three nodes and you will beat almost anyone running five out of the box.
